
What Is the Best Intraoral Scanner for Clear Aligners?
The best intraoral scanner for clear aligners is the one that consistently delivers complete upper and lower arches, a reliable bite relationship and files your chosen aligner provider can actually use. It also needs to fit your team, your appointment schedule and your budget over several years. A fast scan or impressive smile simulation is only part of that decision.
For a clinic starting digital orthodontics, the purchase connects two workflows: what happens chairside and what arrives at the planning lab. If those workflows do not connect cleanly, staff spend time locating exports, correcting records and repeating submissions. Evaluate the entire journey before comparing optional features.
- Provider compatibility: Your preferred lab can receive and use the actual exported records.
- Complete capture: Both arches, relevant gingival anatomy and a clinically verified bite are represented.
- Team usability: Your staff can scan, correct and submit without depending on the sales demonstrator.
- Service and continuity: Training, repairs, replacement arrangements and file access are clearly defined.
- Total cost: Hardware, software, consumables, support and staff time fit realistic case volume.
Check File Compatibility Before You Choose the Hardware
“Works with clear aligners” is too broad to settle a purchase. It can mean a direct connection to one aligner platform, manual file export to an independent manufacturer, or access through a separate software package. Ask which route applies to your practice and what it costs.
Open File Export and Direct Integration Are Different
Open export lets you obtain a standard file for a receiving system that supports it. Direct integration transfers records through a connected workflow, potentially reducing manual steps. A scanner can offer one or both. Neither phrase, by itself, proves that a specific aligner provider accepts every model, software version or case type.
Have the supplier demonstrate export from the account and package you would buy. Check whether a subscription, case-processing step or additional licence is required, and what happens to historical file access if you stop the service. Then confirm acceptance with the receiving provider.
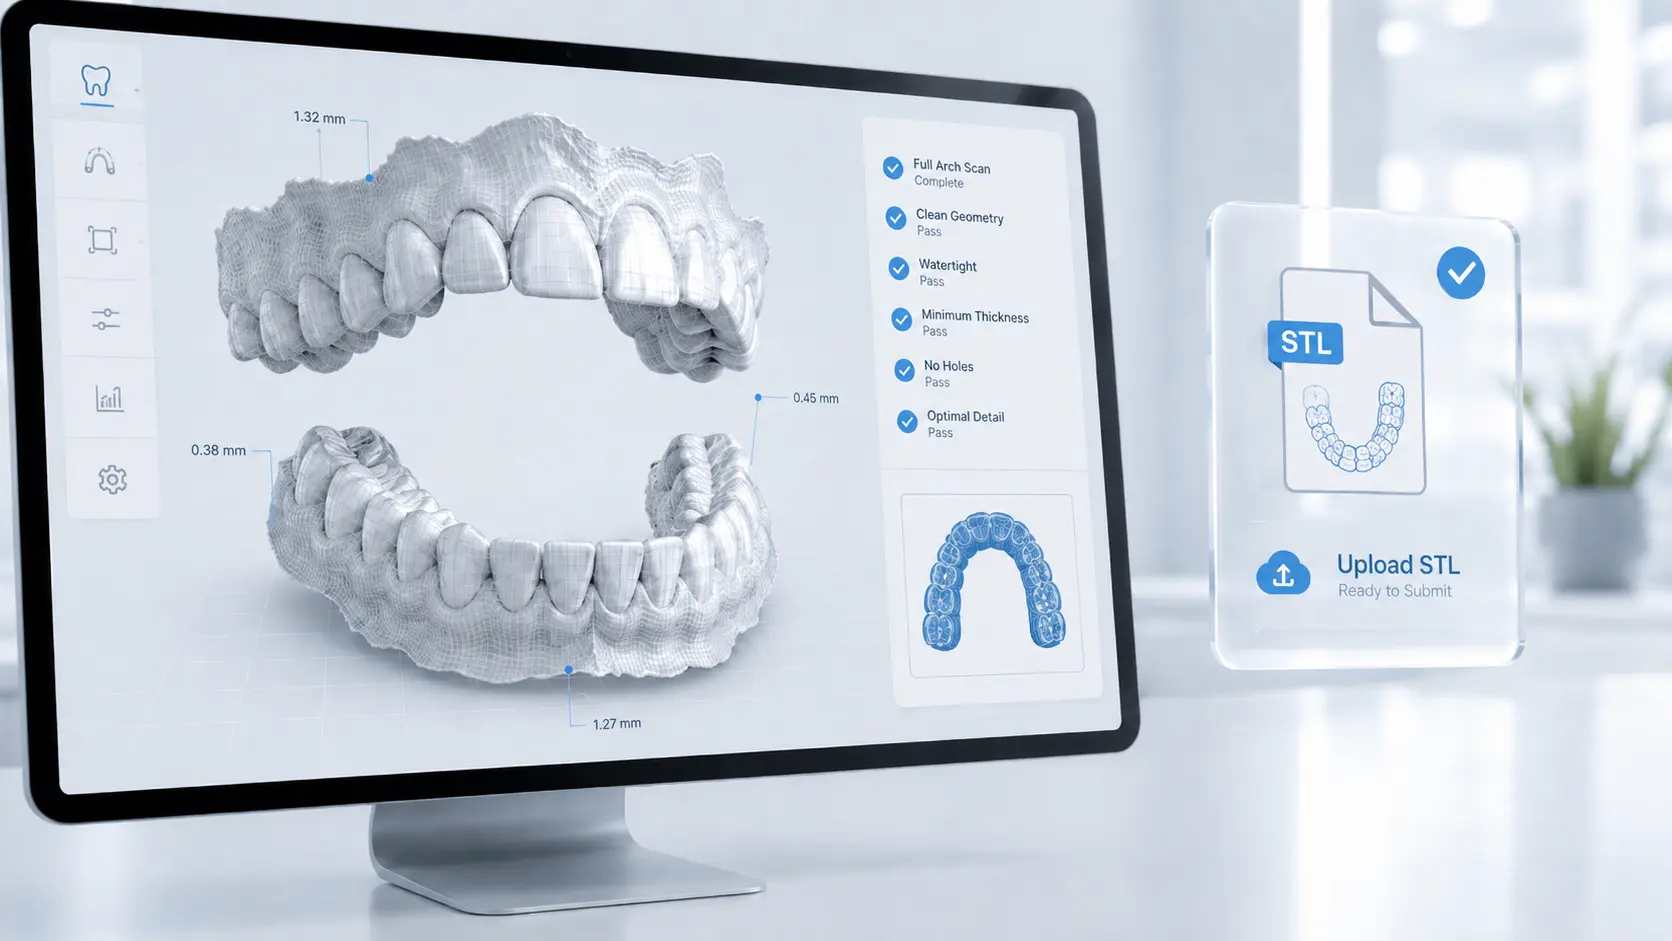
STL, PLY and OBJ: What Matters for Aligner Planning?
| Format | What It Carries | What to Check |
|---|---|---|
| STL | A triangulated surface mesh without standard colour information. | Accepted geometry, export resolution, arch identity and preservation of the bite relationship. |
| PLY | A surface mesh that can include vertex colour. | Whether the provider accepts it and uses the colour data. |
| OBJ | A surface model that can reference material and texture files. | Whether accompanying files must be included for a complete transfer. |
| Native project | Scanner-specific case data and associated information. | Whether a supported integration can read it or a standard export is needed. |
Colour can help visual review, but a colour file is not automatically a more accurate scan. Medit’s third-party export guidance distinguishes manual export through Medit Link from integrated transfer and recommends PLY or OBJ when colour is needed.
For the receiving requirements, use our STL file requirements for clear aligner treatment planning as the starting point, then confirm the current submission instructions with the team. Ask specifically whether they need separate bite scans or arches exported in their registered relationship.
Evaluate Full-Arch Capture and Bite Registration Separately
An aligner workflow needs a dependable representation of the whole dentition. A demonstration on one prepared tooth does not establish how comfortably your team can capture crowded incisors, distal molars and both arches in a patient’s mouth.
Look Beyond the Headline Accuracy Number
Trueness describes closeness to a reference; precision describes repeatability. When comparing accuracy claims, check what was scanned, how it was measured, whether testing was in a laboratory or in patients, and which hardware and software versions were used. Figures from different methods are not a fair league table.
A primary study on testing bite-registration accuracy highlights the difficulty of establishing a reference for occlusal contacts and comparing methods. Its relevance to purchasing is practical: ask for evidence that matches the task you want to perform, and assess the bite as well as the individual arches.
During the demo, inspect posterior coverage, visible tooth surfaces, gingival margins and areas where the scanner lost tracking. Ask the operator to remove an imperfect region and recapture it. The goal is to see whether your team can identify and correct a problem while the patient is still present.
Verify the Bite Before the Case Leaves the Chair
Good-looking upper and lower scans can still be incorrectly related. Follow the manufacturer’s bite-capture protocol and check the resulting articulation against the clinical examination and records. Investigate unexpected openings, overlaps or a shifted relationship before submission.
In a prospective study of 20 participants using a CS3600, researchers evaluated repeatability of virtual bite records but explicitly did not establish their agreement with each participant’s actual occlusion. That distinction between repeatability and clinical agreement is a useful reason to retain a chairside bite check rather than relying solely on a coloured contact map.
Will Your Scanner Fit the Clear Moves Workflow?
Confirm your scanner model, export format and bite-record requirements with our team before committing to new equipment.
[email protected]Compare Scanner Options by the Workflow You Need
The shortlist below is organised around documented workflow capabilities, not a universal performance ranking. The suggested fit is our purchasing interpretation of those capabilities. Confirm local availability, exact models, software entitlements and current terms in a written quotation.
| Scanner Option | Why Shortlist It | Verify Before Buying |
|---|---|---|
| Medit | Worth evaluating when standard file export and working with independent providers are priorities. | Export through Medit Link, the intended computer configuration and any required software or cloud plan. Export documentation. |
| 3Shape TRIOS | Worth evaluating for a practice using, or considering, workflows managed through 3Shape Unite. | Required STL or PLY export, processing steps and licence conditions for the package quoted. Unite export documentation. |
| iTero, including Lumina | Worth evaluating when Invisalign connectivity is central to the practice, alongside any independent aligner work. | The current model’s direct submission workflow and the separate STL export route for third-party cases. Lumina product information. |
| SHINING 3D Aoralscan 3 | Another option to include when comparing scanners with standard mesh export. | STL, OBJ and PLY output in the supplied software, the required computer and local service coverage. Manufacturer specifications. |
If You Want Flexibility Across Aligner Providers
Compare the export process as carefully as the handpiece. Medit documents STL, PLY and OBJ use with third-party software. 3Shape documents DCM, STL and PLY export from Unite, with processing and licence conditions. SHINING 3D lists STL, OBJ and PLY output for Aoralscan 3. These are reasons to arrange demonstrations, not guarantees of acceptance by every provider.
If Invisalign Is a Major Part of Your Practice
iTero Lumina’s manufacturer describes direct Invisalign connectivity. iTero also documents open STL export for third-party workflows. Test both routes if your practice intends to offer multiple aligner systems. Do not infer another scanner’s current Invisalign acceptance simply from its ability to create an STL.
If You Already Own a Scanner
Start by testing your existing equipment against the same acceptance criteria. If the provider can use the files and your staff can capture dependable records efficiently, an export review or refresher training may solve the problem. Replace hardware when you can identify the limitation the new purchase will address.
Test Staff Usability, Patient Access and Local Support
The scanner will be used by your team in your rooms. Ask the person who normally takes records to complete a scan after instruction. Include patient access, cable handling, scan correction and case submission in the demonstration.
Measure Time to an Accepted Submission
Record the time needed for patient setup, both arches, bite capture, corrections, processing and export. A short capture time can be offset by slow processing or a confusing transfer process. Use the same start and finish points for every scanner you compare.
Check handpiece balance and posterior access rather than choosing from weight alone. With a wireless model, include battery changes, charging and connection recovery in the test. With a wired model, check cable reach and how easily the equipment moves between rooms.
Include Reprocessing and Downtime
Review the exact model’s instructions for cleaning, disinfection and any reusable tip sterilisation. Ask how many tips or sleeves you need for a normal clinic day, how replacements are supplied, and whether calibration or maintenance adds scheduled work. Do not transfer reprocessing instructions from one scanner to another.
Get practical support commitments: who answers when a scan fails, how quickly a repair is assessed, whether a loan unit is available and what training is included for new staff. For a busy practice, a workable service arrangement can matter more than an optional visualisation feature.
Compare the Total Cost of Ownership
Request itemised quotations over the same period, such as three years. Keep the hardware configuration and service assumptions comparable. A headline price may exclude the computer, cart, licences, consumables or support your workflow needs.
| Cost Area | Include in the Comparison |
|---|---|
| Initial setup | Scanner, compatible computer or cart, installation, delivery, applicable taxes and initial training. |
| Recurring software | Required subscriptions, export access, cloud storage and paid workflow applications. |
| Clinical use | Tips or sleeves, reprocessing, calibration items and replacement accessories. |
| Service and continuity | Warranty extensions, repairs, loan equipment and staff cover during downtime. |
| Time and finance | Staff training, capture and administration time, plus finance charges if applicable. |
A Simple Cost-per-Case Example
Illustrative assumptions, not scanner price estimates: suppose your three-year scanner ownership cost is $24,000 before per-patient consumables and staff time. At 20 new aligner cases per month over 36 months, allocating that cost entirely to aligner starts gives $24,000 ÷ 720 = $33.33 per new case. At five new cases per month, it becomes $24,000 ÷ 180 = $133.33 per new case.
Add consumables and labour, including expected refinement and retention scans, to understand the actual operating cost. If the scanner also supports restorative work, allocate an appropriate share of the fixed cost to those uses. Run a lower-volume scenario before committing; anticipated growth is not the same as booked cases.
Use This Checklist Before You Sign
Ask each supplier to complete the same demonstration. A training model is useful for learning controls; with appropriate consent, a representative patient case can show practical access and handling limitations that a model does not.
- Identify the exact packageRecord scanner model, software version, computer, licences, support plan and quoted export capabilities.
- Let your team capture the recordsScan both arches and the bite after training. Inspect the posterior teeth, visible margins and areas where tracking was lost.
- Demonstrate correction and recoveryRemove and recapture an imperfect area. Confirm how the software handles pauses, interrupted sessions and saving unfinished cases.
- Check the bite clinicallyCompare the digital relationship with the patient’s observed occlusion and relevant records, following the device protocol.
- Export and test the receiving workflowUse a non-identifiable demonstration case or appropriately authorised records. Have your intended provider confirm import, scale, arch identity and articulation.
- Close the commercial questionsObtain itemised ownership costs, training and repair terms, and written details of file access if the subscription or supplier relationship ends.
Treat confirmed provider acceptance as a pass-or-fail requirement. Then score the remaining priorities according to your clinic’s needs. A small practice may prioritise affordable support and simple operation; a multi-chair clinic may put more weight on throughput, shared access and downtime arrangements.
How Your Scanner Fits the Clear Moves Aligner Workflow
Our scanner-agnostic approach starts with the usability of the submitted records. Clear Moves’ scan-to-aligner treatment planning workflow describes how digital records move through assessment, setup, approval and production. The buying decision should support that complete process.
Before purchasing, ask our team to confirm your proposed scanner export. Share the exact model and software details, and ask how to provide a sample through the appropriate channel. Confirm accepted formats, bite requirements and any additional records for the intended case type.
Once you are submitting cases, our guide to the doctor portal for clear aligner case management explains how records, plan review and communication fit together. Consistent case identification and a complete prescription help make the scanner output useful to the planning team.
The scan is the starting record; clinical decisions continue through custom orthodontic treatment planning and the treating clinician’s review. Use our guide on how to read and approve a 3D aligner setup when assessing the proposed movements and final occlusion.
Choose the scanner that passes your provider’s import check, works reliably in your team’s hands and makes financial sense at your likely volume. That gives your practice a defensible reason to buy and a practical route from the first scan to the first approved case.
Frequently Asked Questions
What is the best intraoral scanner for clear aligners?
Can I use an iTero scanner with an independent aligner provider?
Is STL enough, or do clear aligners require PLY or OBJ files?
Does every aligner case need a separate bite STL file?
Can a lower-priced intraoral scanner work for clear aligners?
Does a faster scanner mean fewer aligner refinements?
Should I replace the scanner my practice already owns?
Worldwide

Confirm Your Scan-to-Aligner Workflow
Speak with Clear Moves Aligners about your scanner export, required case records and treatment planning workflow. Establish the submission route before you commit to new equipment.
[email protected]