When You Approve a Setup, You Own the Outcome
More clinicians are outsourcing the digital heavy lifting of clear aligner treatment, and for good reason. Sending a scan to a dedicated planning team frees up chair time, removes the software learning curve, and hands you a polished 3D setup to review instead of a blank canvas. But the moment you click approve, something important happens: the proposed plan becomes your treatment plan. The patient sits in your chair, the aligners are delivered under your care, and the responsibility for the result is yours.
That is why setup approval should never be a reflex. A 3D digital setup is a clinical proposal, built by people who optimized the tooth movement on screen but never examined your patient, never probed the gingiva, and never heard the patient describe what bothers them about their smile. You hold the context they do not. Reading the setup carefully, and pushing back when something looks off, is the single most valuable thing you do in an outsourced workflow.
The good news is that reviewing a setup well does not require you to be an orthodontist or a software expert. It requires a consistent checklist and an understanding of where digital plans most often diverge from clinical reality. That is exactly what the rest of this guide gives you.
What to Review the Setup Against
A setup can only be judged against something. If you open the 3D plan in isolation and simply check whether the teeth end up straight, you have no reference for whether the journey is safe or the destination is correct. Before you evaluate a single tooth movement, gather the records that define what this case is supposed to achieve.
- Chief complaint and goals: What did the patient actually ask for? A setup that corrects everything except the one tooth the patient mentioned is a failed plan, however clean it looks.
- The intraoral scan or impressions: Confirm the scan the plan was built on is complete, distortion-free, and recent. A setup is only as good as the geometry it started from.
- Clinical photographs: Intraoral and extraoral photos let you sanity-check the digital model against the real dentition, soft tissue, and smile line.
- Radiographs: A current panoramic or periapicals reveal root length, bone support, root proximity, and pathology the surface scan cannot show, essential before approving any root movement.
- Periodontal and restorative status: Note mobility, recession, implants, crowns, veneers, and bridges. These constrain where you can place IPR and attachments and how much movement the tissues will tolerate.
The Clinician's 8-Point Setup Review Checklist
Once your records are in front of you, work through the setup in a deliberate order. Reviewing in sequence, rather than jumping straight to the final result, is what surfaces the problems that hide behind a nice-looking end position. Run these eight checkpoints on every case.
- Diagnosis and goals match Confirm the setup addresses the chief complaint and your diagnosis, not just generic alignment.
- Tooth movements are realistic Step through the animation and watch how each tooth reaches its final position, especially the roots, not only the crowns.
- Staging and velocity are sane Check the movement assigned per aligner and confirm nothing is moving too fast or out of sequence.
- IPR is appropriate Verify the amount, location, and timing of every interproximal reduction against available enamel.
- Attachments are placed where needed Confirm attachments support the difficult movements and avoid restorations and the aesthetic zone where possible.
- Anchorage and arch coordination Ensure reciprocal movements, arch coordination, and any auxiliaries such as elastics or TADs are accounted for.
- Final occlusion is functional Check overjet, overbite, midlines, canine and molar relationship, and posterior contacts, not just front-tooth aesthetics.
- Overcorrection is built in Confirm relapse-prone movements carry deliberate overcorrection in the final stages.
The next sections unpack the checkpoints that cause the most trouble in practice, the ones where a quick glance is not enough.
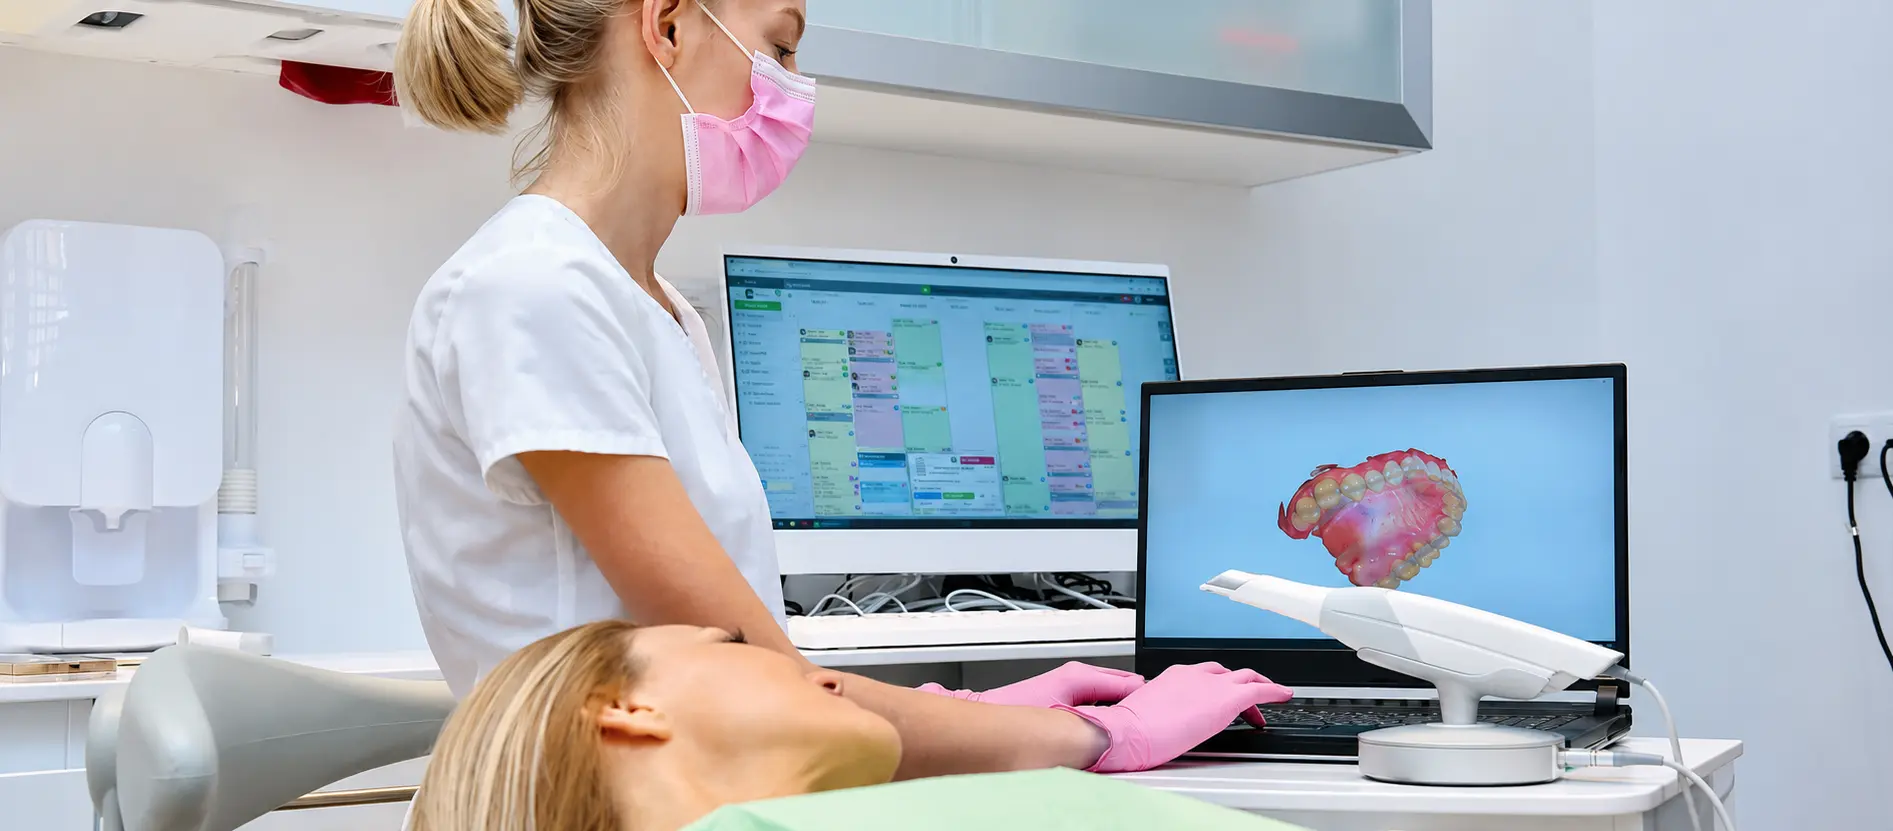
Skip the Software, Keep the Control
Send us a scan and receive a clinician-ready 3D setup you can step through, annotate, and revise inside our doctor portal, then approve only when it matches your clinical intent.
[email protected]Tooth Movement and Root Torque: Watch How, Not Just Where
The most expensive review mistake is approving a setup based on the final frame. A digital plan can show every tooth in textbook position at the last stage while asking for movements that aligners express poorly. Stepping through the animation, and paying attention to roots rather than just crowns, is how you catch this.
Root torque and bodily movement
Aligners are excellent at tipping crowns and good at many rotations, but root movements are their weak point. Torque, moving the root within the bone while the crown stays put, is slow and only partially expressed, particularly upper incisor palatal root torque and the uprighting of roots at extraction or space-closure sites. If the setup closes a space by tipping the crowns together while the roots stay splayed, you will get an unstable, unaesthetic result that needs refinement. Look for root parallelism at every space-closure site.
Rotations of rounded teeth
Premolars and canines are round and offer little surface for an aligner to grip, which makes severe rotations difficult to express fully. A setup that resolves a forty-degree premolar rotation in a handful of stages with no attachment and no overcorrection is being optimistic. These movements need engineered attachments and extra stages.
Extrusion and intrusion
Pure extrusion is one of the hardest movements for an aligner because there is nothing for the plastic to push against; it relies almost entirely on attachments and elastics. Anterior intrusion for deep bite is more achievable but should be staged gradually. Be skeptical of setups that extrude lateral incisors or canines quickly without supporting attachments.
Staging, Velocity, and IPR: The Two Biggest Predictability Levers
If root movement is where setups overpromise on what aligners can do, staging and IPR are where they overpromise on how fast and how much. These two factors drive more lost tracking and mid-course refinements than anything else, and both are easy to audit once you know the numbers.
How much movement per aligner is realistic?
Predictable aligner movement lives within fairly narrow limits. Treat the figures below as a sanity check rather than rigid law, but a setup that consistently exceeds them is asking for trouble.
| Movement Type | Conservative Per-Stage Target | Notes |
|---|---|---|
| Linear (translation) | ~0.25–0.33 mm | Faster than this commonly loses tracking |
| Rotation | ~2–3° | Round teeth (premolars, canines) need attachments |
| Root torque | ~1–2° | Slow and partially expressed; stage generously |
| Extrusion | ~0.25 mm | Requires attachments and/or elastics to express |
Enter the movement a setup assigns per aligner to see whether it sits within commonly predictable limits. A guide for review — not a clinical rule, and not a substitute for your judgment.
Velocity is only half the question. Sequencing matters just as much, because a tooth cannot move into space that does not yet exist. If the setup retracts anteriors before IPR or distalization has created room, the aligners will bind and the plan will fail no matter how conservative the per-stage numbers look.
Auditing IPR: amount, location, and timing
Interproximal reduction is the most common source of setup errors because it is easy to over-prescribe on screen and hard to undo in the mouth. Three questions catch most problems.
- How much? A widely used conservative ceiling is roughly 0.5 mm total per contact, about 0.25 mm per surface. Total IPR should be proportional to the crowding you are actually resolving; large IPR demands on a mildly crowded arch suggest the plan is substituting enamel reduction for proper arch development.
- Where? IPR should fall on contacts with adequate enamel thickness and sound surfaces. Flag any IPR planned on teeth with existing restorations, thin enamel, sensitivity, or compromised contacts.
- When? IPR should be staged progressively and performed as the space is needed during alignment, not loaded into the first few aligners before the teeth have moved enough to access the contacts safely.
Final Occlusion and Built-In Overcorrection
A setup that delivers straight front teeth but a compromised bite is not a success. The last checkpoints before approval are about function and durability: how the teeth meet, and whether the plan accounts for the relapse that follows almost every orthodontic movement.
Check the bite, not just the smile
Step to the final stage and assess the occlusion deliberately. Confirm the overjet and overbite land where you want them, the upper and lower midlines are coincident (or that any discrepancy is intentional and explained), and the canine and molar relationships are correct for the case. Most importantly, check the posterior contacts. Aligners can introduce a posterior open bite, especially during anterior intrusion or with full occlusal coverage. If the molars are not touching at the end of the plan, that is a problem to solve before approval, not after delivery.
Why a good plan looks slightly over-corrected
Almost every tooth movement experiences some rebound, and certain movements relapse more than others: rotations of round teeth, extrusions, deep bite correction, and closure of extraction or spacing sites. A well-built setup compensates by building extra movement into the final aligners so the teeth settle into the position you actually want rather than falling short. When you see a rotation taken slightly past ideal, or a space closed with a touch of overcorrection, that is a sign the plan respects biology. A setup with zero overcorrection on known relapse-prone movements is usually too optimistic about full expression.
- Goal: Does the end position solve the patient's actual complaint?
- Roots: Did I watch the roots move, not just the crowns?
- Velocity: Is anything moving faster than the predictable limits?
- IPR: Is the amount, location, and timing defensible?
- Bite: Do the posterior teeth still touch at the final stage?
- Stability: Is there overcorrection where relapse is likely?
Approve, Revise, or Refer: Making the Call
After the checklist, every setup lands in one of three buckets, and knowing which is itself a clinical skill.
Approve
If the diagnosis is addressed, the movements are realistic and well-supported, the IPR and staging are defensible, and the final occlusion is sound, approve it, and document why. Note in the record that you reviewed the setup against the patient's records and goals. Your approval is a clinical act and it should be recorded like one.
Revise
Most first-pass setups benefit from at least one round of refinement. Send specific, clinically reasoned instructions: reduce IPR at the lower right contact, add an attachment and overcorrect the upper-right lateral rotation, slow the torque on the upper incisors across more stages, or recover posterior contact before finishing. A capable treatment planning partner, working through a doctor portal built for exactly this kind of back-and-forth, expects this dialogue and will iterate until the plan matches your intent. Revising is not friction; it is the workflow working.
Refer or rescope
Sometimes the honest answer is that the case exceeds what aligners, or your current scope, should attempt. Skeletal discrepancies, severe malocclusions, complex extraction mechanics, or significant root and periodontal concerns may call for specialist input or a different treatment modality. Recognizing this before approval protects the patient and your reputation far more than pushing an unsuitable case through.
Working with a planning partner whose materials and processes meet international medical-device standards removes one more variable to second-guess when you sit down to review a setup.
Estimate the Revenue Behind Your Aligner Cases
Reviewing setups well is what protects the clinical — and financial — upside of offering clear aligners in the first place. If your practice, lab, or group is weighing whether to bring aligners in-house or scale your current volume, the calculator below estimates the gross profit at stake. Adjust the figures to match your numbers; all amounts are in USD.
A directional model built from your own inputs. Manufacturing cost per case is the lever where a white-label partner makes the biggest difference to your margin.
Directional estimate only. Excludes chair time, staffing, marketing, and taxes; actual results depend on case acceptance, pricing, and your true per-case manufacturing cost.
See your white-label cost per caseFrequently Asked Questions
Do I still need to review the 3D setup if an orthodontist already designed it?
What is the most common mistake dentists make when approving a setup?
How much interproximal reduction (IPR) is safe to approve?
How can I tell if the staging in a setup is too aggressive?
Why does the final stage of a good setup sometimes look over-corrected?
What should I do if I disagree with the proposed setup?
Can general dentists approve clear aligner setups, or only orthodontists?
Worldwide
Get a Setup Worth Approving
Our orthodontic planning team builds detailed, editable 3D setups for clinics, labs, and aligner brands worldwide, with full revision support until the plan is right.
[email protected]